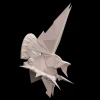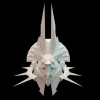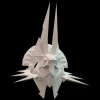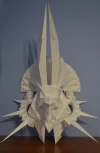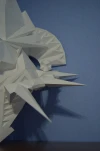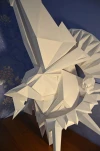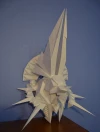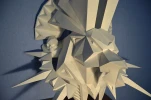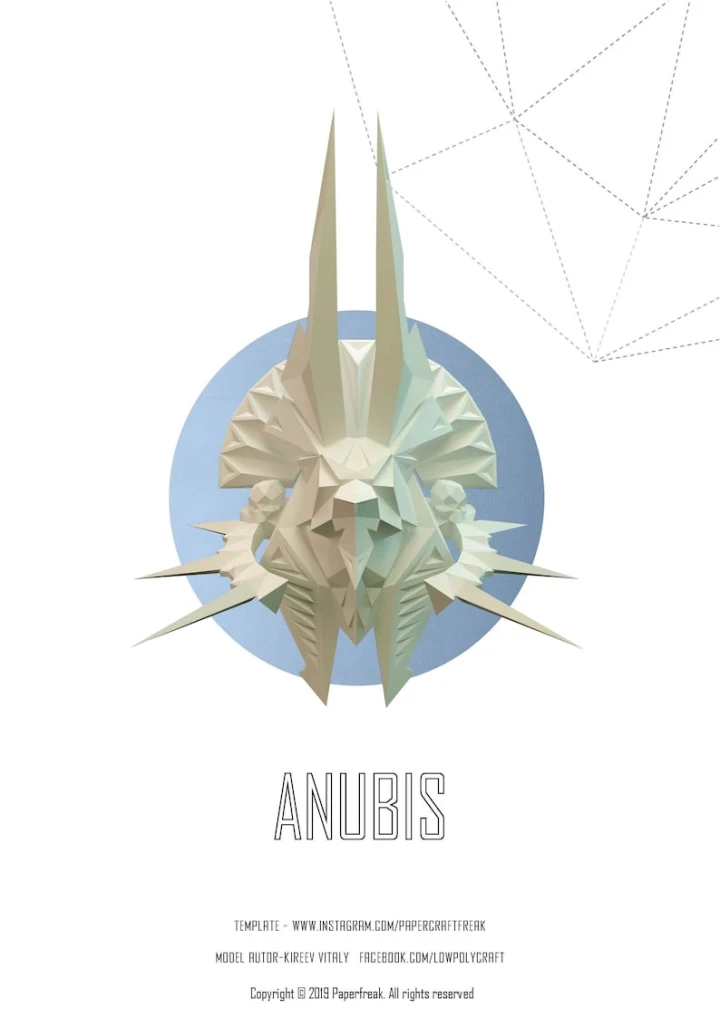
Papercraft 3D ANUBIS HEAD god of Egypt pepakura pdf template art Low polygonal Paper Sculpture Diy Decor home office
| Digital download | |
| Digital file type(s): 1 PDF | |
| Support for file crafts: PDF Vector | |
| Height: 900 milimeters | |
| Width: 851 milimeters | |
| Depth: 323 milimeters |
Papercraft pepakura template, for self assembly polygonal ANUBIS for decoration loft home and office.
Ancient Greek muths ancient Egyptian religion low poly paper figure
! this is PDF patern ! not ready made model !
Template include detailed instruction for easy assembly
!!!!! This is a very hard to build. only for professionals !!!!!
Do not buy this product if you have little experience
For assembling. Print this pattern on 58 sheets A4 cardstock 250-300gsm scale 100%
Size for A4 paper
Hight-900mm (23,4252 in)
Depth-323mm (11,2205 in)
Width-851mm (22,9134 in)
Color scheme
1-28 head color
29-32 back side
33-34 eyes and dent
35-42 back rim
43 back rim dents
44-46 back wall
47-49 spikes
50-56 side rim
57-58 sculls
You can use your favorite color try to experiment!
Ears-sheet 1-14
Head-sheet 15-34
Back rim-sheet 35-46
Side rim sheet 47-56
Skull-sheet 57-58
The model was developed by the popular designer Kireev Vitaly.
Step 1
Glue the ears starting from the tips(detail 1) and finish by detal 8
R-right ear
H-left ear
To close the hole on part 7b you need to use part 7a which is on the page 33
Put the resulting structure aside.
Step 2
Start assembling the head with the detail 1a,b
Glue the parts in order until you reach part 13.
Details with letters (a,b,c) need to glue together before you glue them to the model
Step 3
Now you need to glue the ears to Anubis ' head
Step 4
Continue to glue the parts in turn until you reach the part 22a,b.
If you do not want to make additional dents on the figure you can not cut Type holes marked in red
Step 5
Glue the parts 22-24 in order then assemble the parts 25b and 26b and glue to the parts 25a,26b and 25c,26c
Step 6
Glue detail 27 and the rear lower parts of the Anubis (details 28-29)
Step 7
Glue the parts 30a,b and strnge them from the inside with an additional paper layer. Cut out the back wall (detail 31) of cardboard and paste inside the model
Step 8
The back rim parts are signed with B. Start Assembly with part B1a,b,c and move to the part B7a,b,c.
Step 9
Glue the details B8,B9,B10,B11 on the down side of the rim.
Now glue back wall (detail B12a,b,c,d) from more dense cardstock and glue it from inside of the model.
Step 10
The side rim parts are on sheets 47-56
R-right side L-left side
Start with part R1 and move forward to detail R10
Step 11
Glue details R11-R12. Cut the back wall (R13) from more dense cardstock and glue from inside of the model
Do the same wih Left side
Step 12
The details of the skulls are marked with the letter S. Start with part S1 and glue in order until you get detail S6. Glue two of these skulls
Step 13
Connect all parts on the wall. Make a photo of the finished work and share in social networks. Please tag me on the photo @percraftfreak
and use a hashtag #papercraftfreak
Assembly tips
Every detail has its own number with large symbols. Follow these numbers for your convenience.
Details of the ears and the side rim are marked with similar symbols. Not to confuse
L-left R-right
You can strengthen the place of attachment of the ears to the head if necessary
You can glue all the parts of Anubis together before you hang it on the wall
If you do not want to make additional dents on the figure you can not cut Type holes marked in red
Read the instructions carefully before assembly.
If you want to make model more in size, print the pattern on a3 size paper and scale up to 145%. Enjoy it !
Your files will be available to download once payment is confirmed.
Instant download items don’t accept returns, exchanges or cancellations. Please contact the seller about any problems with your order.

