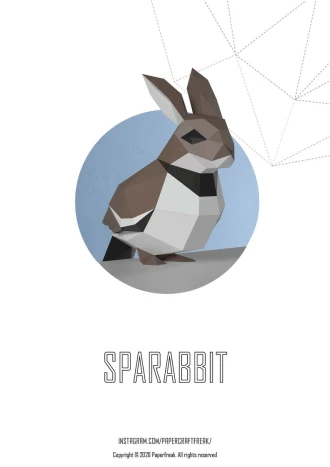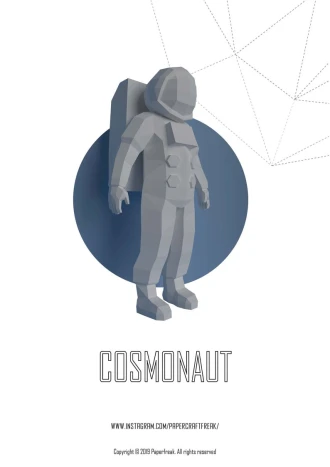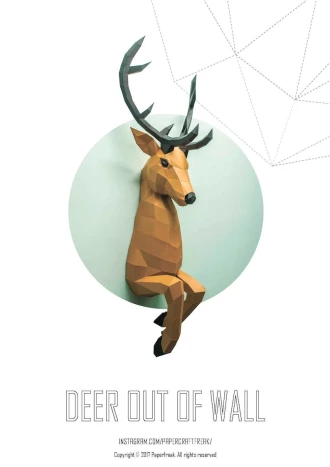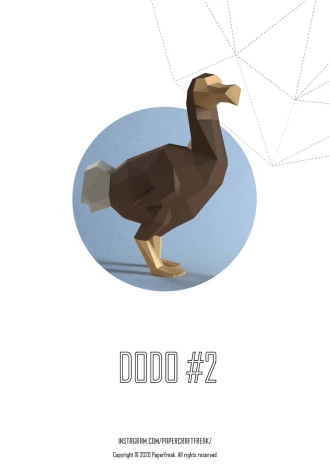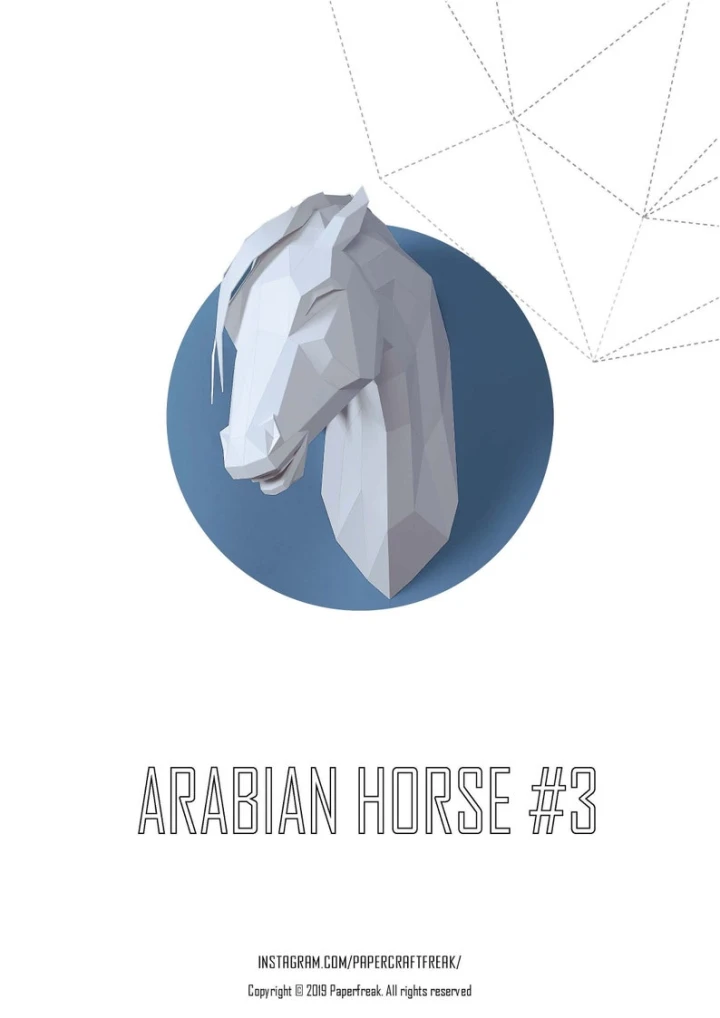
Papercraft 3D ARABIAN HORSE HEAD 3 Low Poly unicorn Paper Sculpture DiY wall Decor home nursery pepakura pattern template animals
| Digital download | |
| Digital file type(s): 1 PDF | |
| Support for file crafts: PDF Vector | |
| Height: 460 milimeters | |
| Width: 253 milimeters | |
| Depth: 418 milimeters |
3d papercraft ARABIAN HORSE #3. pepakura template.
Pattern for self-assembly polygonal horse head for wall decoration home, loft and office
Papercraft horse art low poly paper sculpture.
this is PDF pattern ! not ready made model !
Template included detailed instruction for beginners
For assembling. Print this pattern on 15 sheets paper or cardstock size A4 or letter density 160g-300g / 90lb-120lbs scale 100%
Dimensions of this figure in the assembled form
Size for A4 or letter
High- 460mm (18inch)
Depth- 418mm (16,5 inch)
Width- 253mm (10 inch)
If you want to make model more in size, print the pattern on a3 size paper and scale up to 140%.
color scheme
sheet 1-11 horse
sheet 12 back wall
sheet 13-15 hair
sheet 15 teeth
you can use your favorite color try to experiment!
Use this step by step guide for best result
Step 1
Start assembling by connecting parts 1a, 1b, 1c. After that, glue in order details 2-10
Step 2
Keep gluing the parts in order until you reach the part 13
Step 3
Assembly eyes, detail 14a+14b (right eye) and 14c+14d (left eye). and insert them in the part 14e. Glue the resulting part to the model.
Step 4
Continue to glue the parts in order until you reach the part 16. Glue ears separately(17a,b-18a,b) and glue them to the model
Step 5
Glue the rest parts in order one by one. Glue the parts of the back wall together (detail 34a,b) After that, glue the back wall from inside
Step 6
Glue the front of the hair. Connect the parts 1a+1b. Glue them as indicated on the page below
Step 7
Glue the rest of the hair and glue it to the horse. If desired, you can glue the tooth to the horse. they are on the last sheet
Step 8
Make a photo of the finished work and share in social networks. Please tag me on the photo @papercraftfreak
and use a hashtag #papercraftfreak
Assembly tips
Every detail has its own number with large symbols. Follow these numbers for your convenience.
Details marked with letters first glue together and then glue to the model
Glue the back wall so that the flaps remained outside
Enjoy it !
If you want to make model more in size, type the pattern on a3 size paper and scale up to 140%
Instructions for gluing hair.
To attach the hair to the head, use the flaps marked in red. Glue them on top of the model, from the head along the spine exactly in the middle.
If desired, you can glue the horse's teeth. Use for gluing the flaps are marked in red.
the teeth are on the last sheet.
Your files will be available to download once payment is confirmed.
Instant download items don’t accept returns, exchanges or cancellations. Please contact the seller about any problems with your order.


