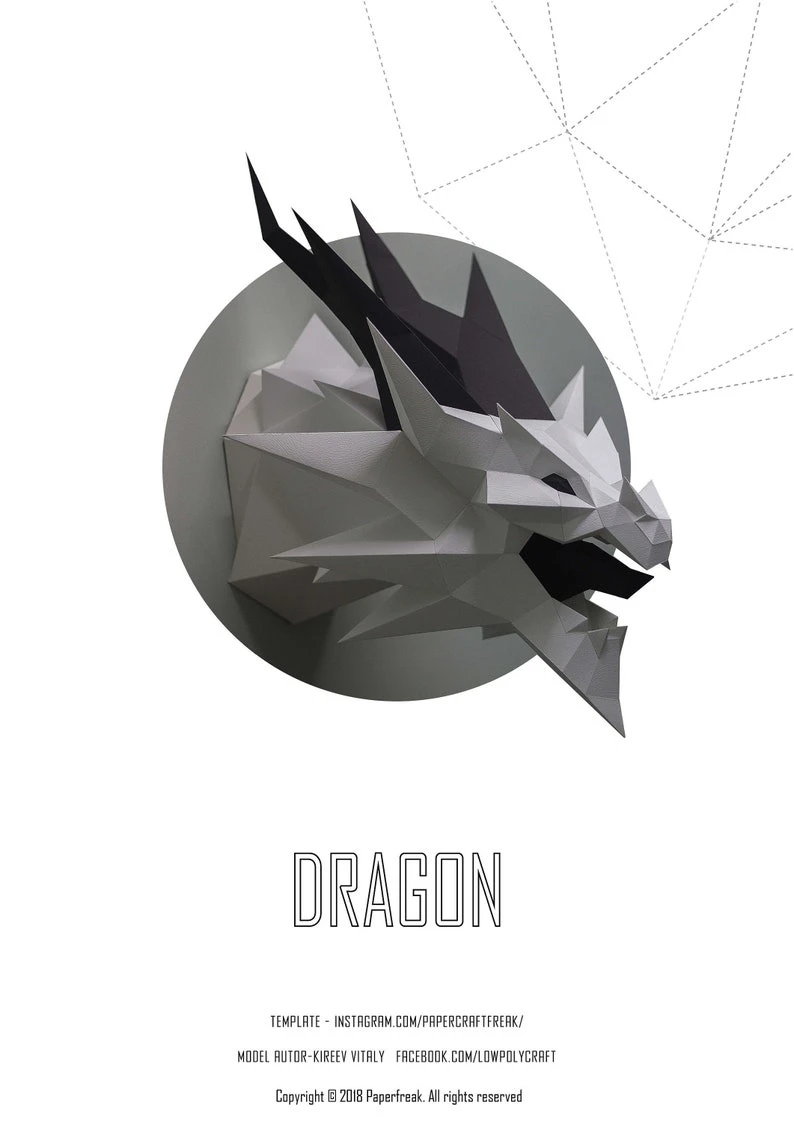
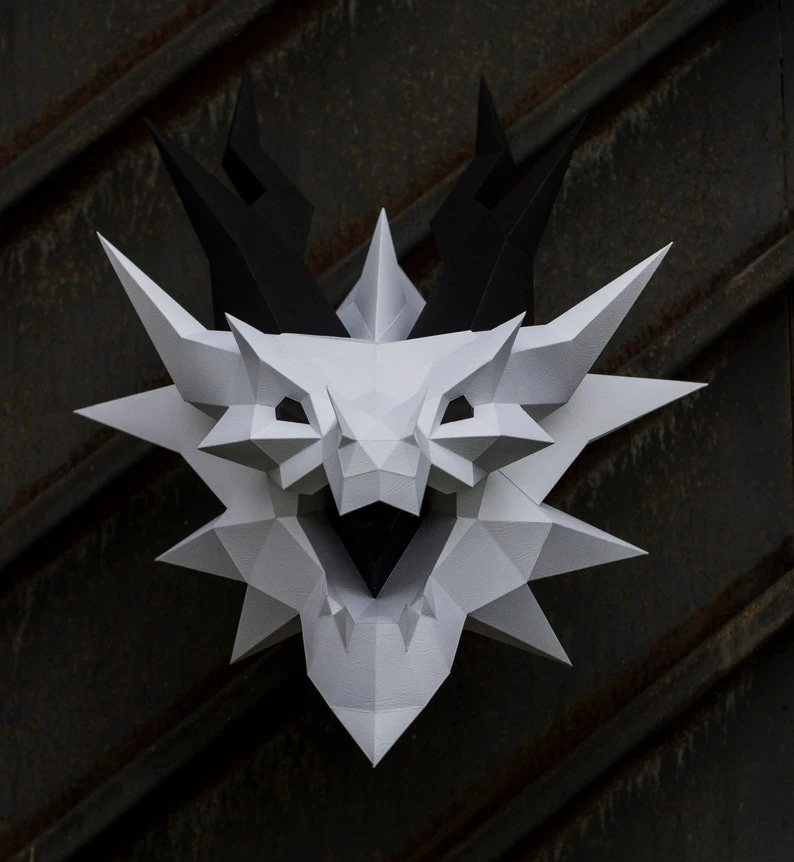
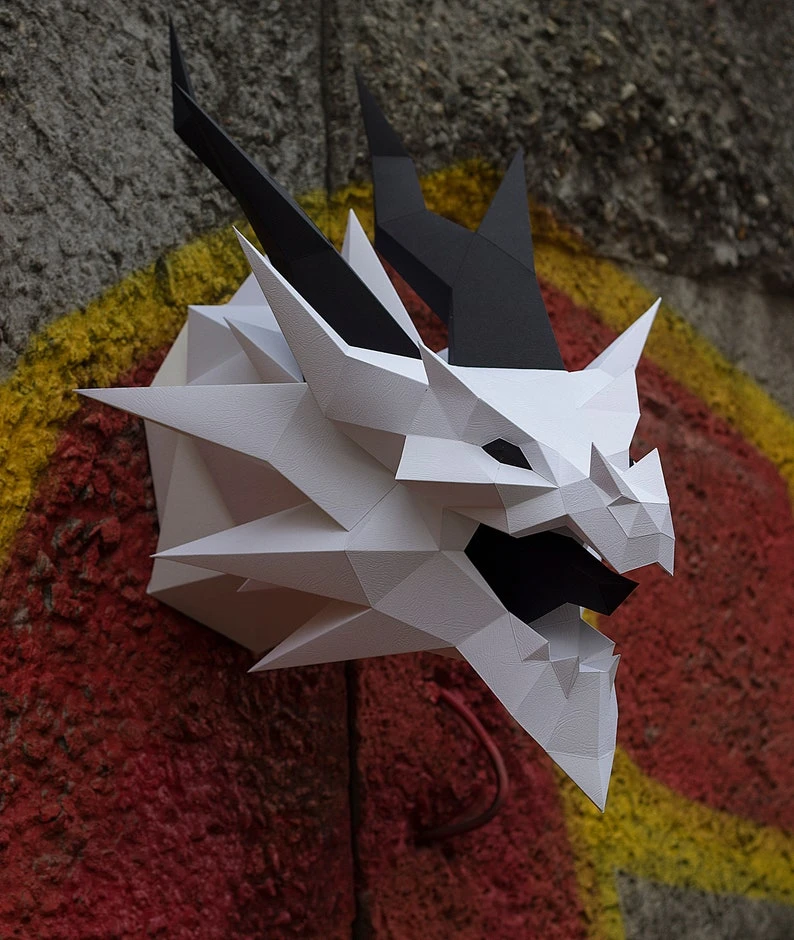
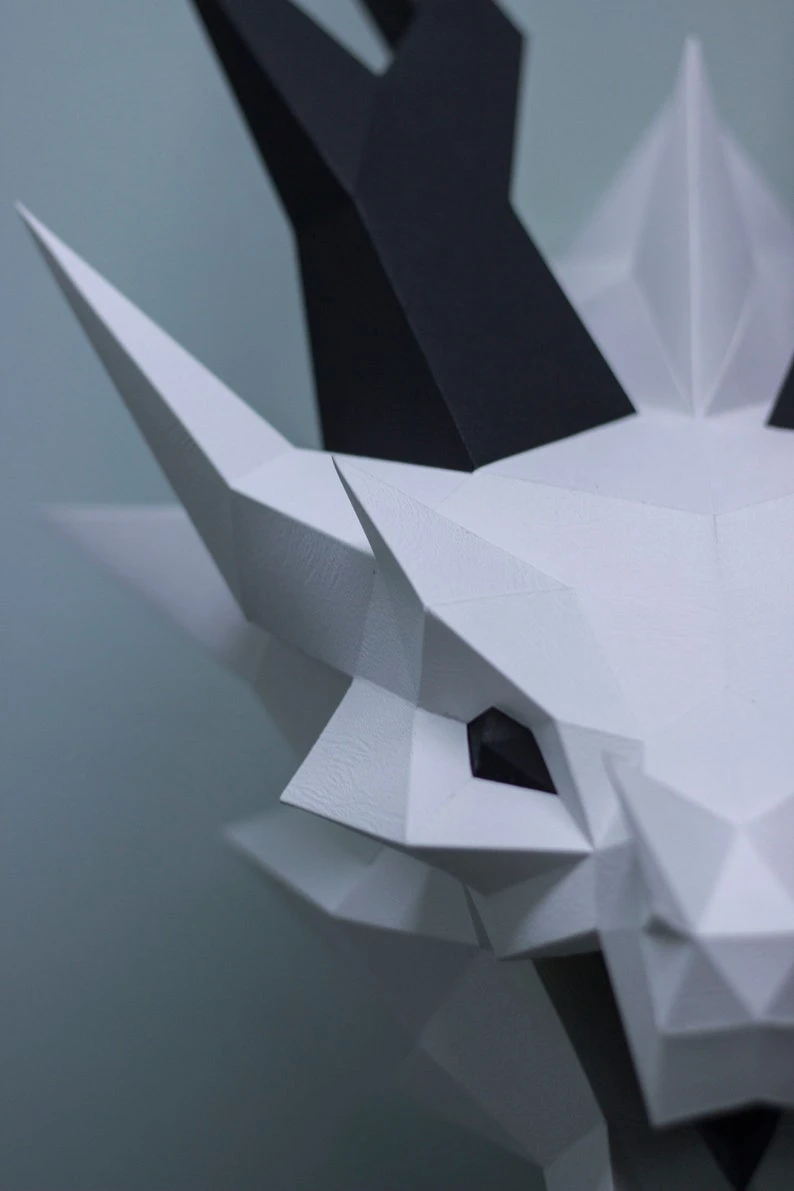
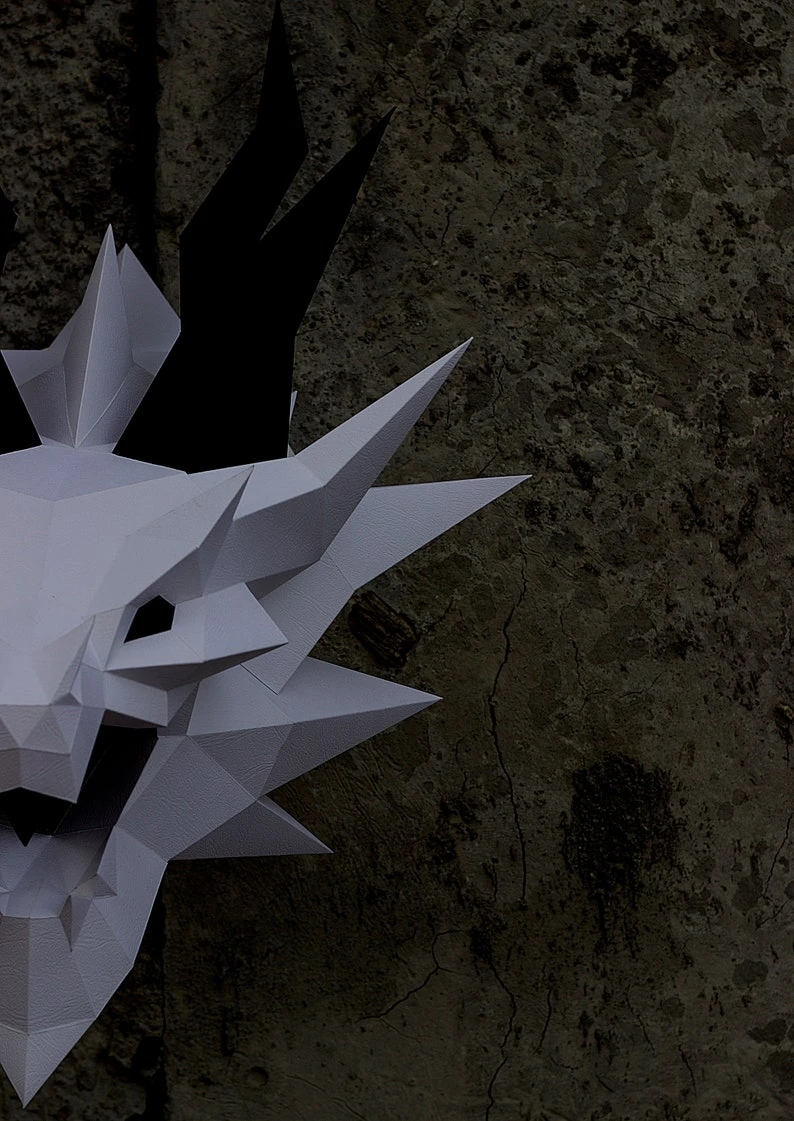
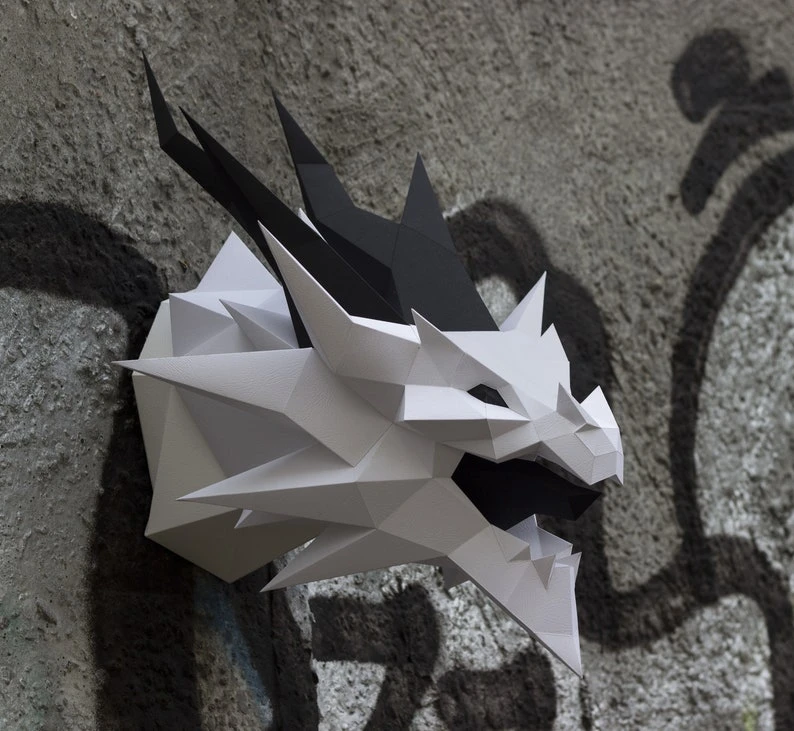
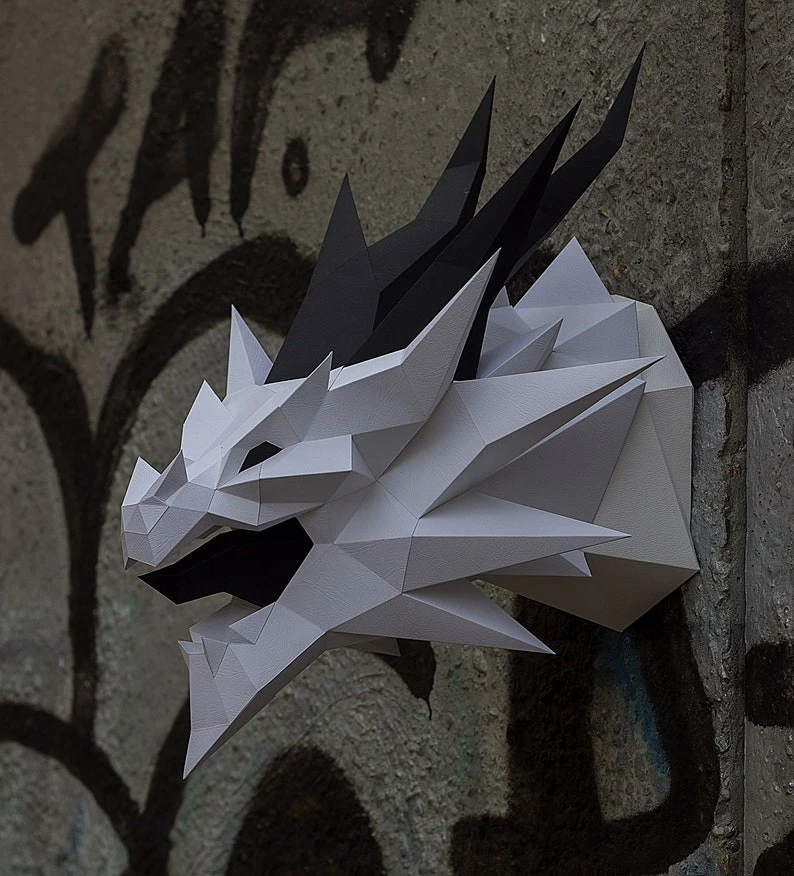
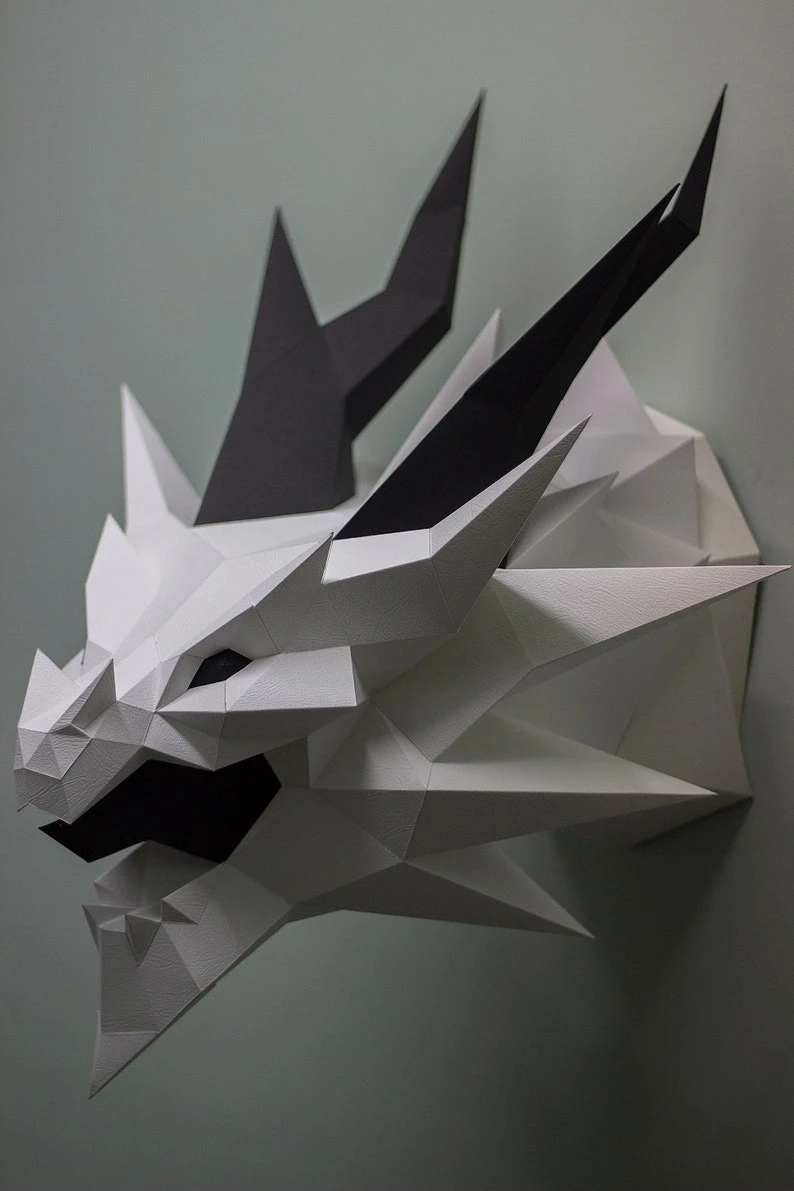
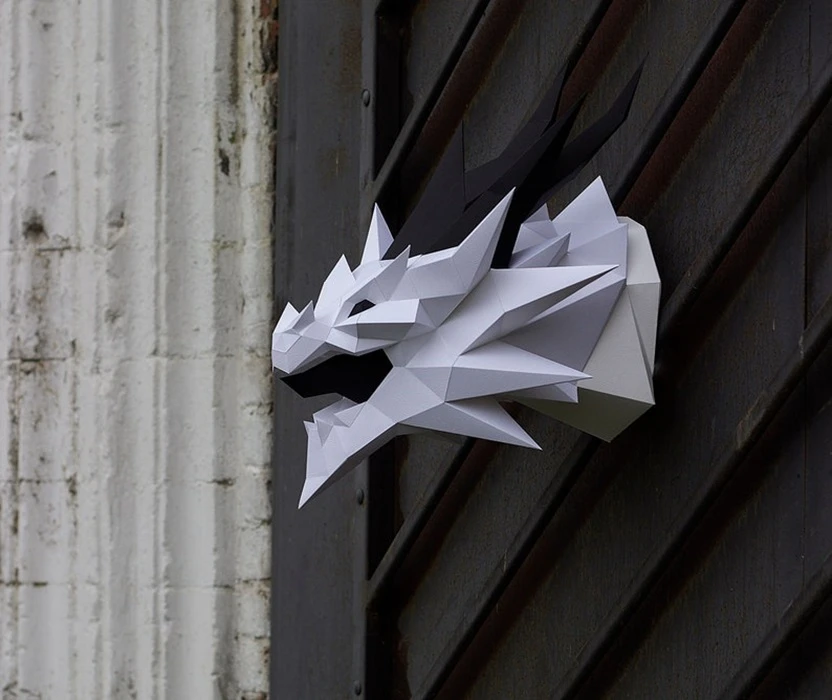
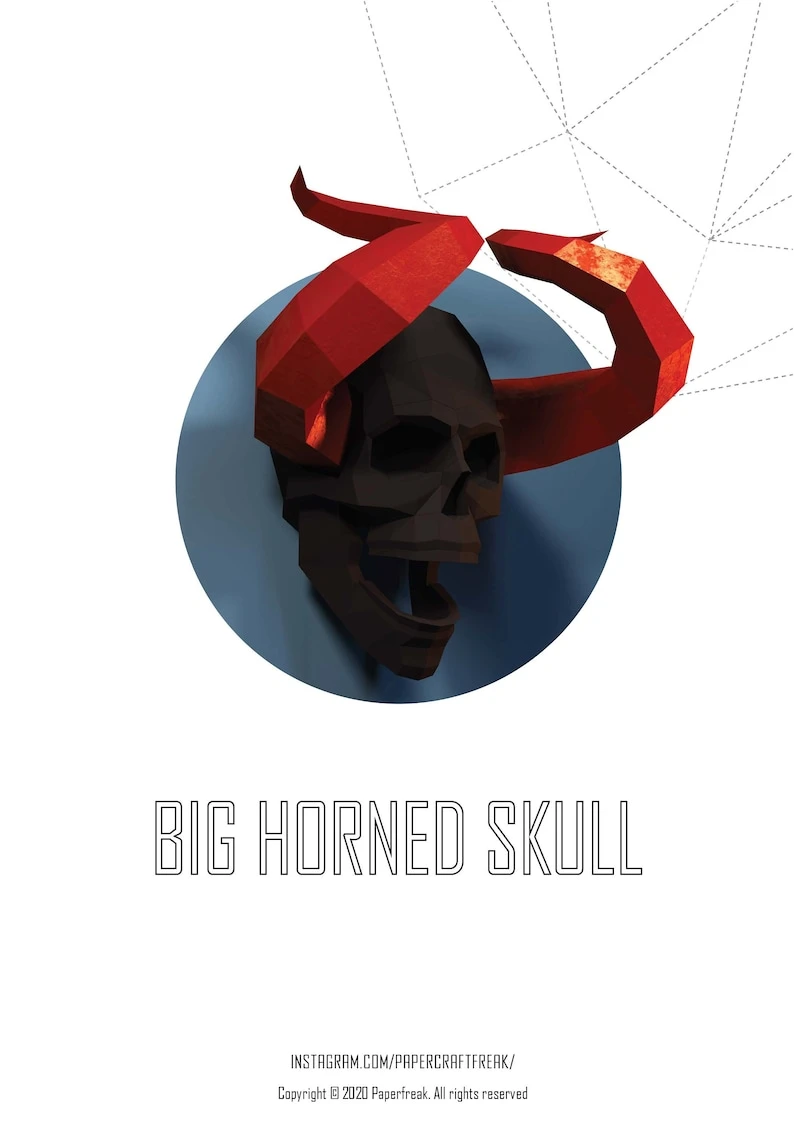
Papercraft 3d DRAGON sculpture pepakura skyrim SMAUG from the lotr or DROGON game of trhones low poly wall decor pdf template diy Wyvern art
| Digital download | |
| Digital file type(s): 1 PDF | |
| Support for file crafts: PDF Vector | |
| Height: 532 milimeters | |
| Width: 417 milimeters | |
| Depth: 409 milimeters |
Make your own DRAGON sculpture from the Lord of the ring or Game of trhones ! This is template for making papercraft 3D paper sculpture with your own hand!
3d papercraft DROGON. pepakura template, pattern for self-assembly polygonal SMAUG for decoration home, loft and office
Papercraft strong man art low poly paper figure.
this is PDF pattern ! not ready made model !
Template included detailed instruction
For assembling. Print this pattern on 23 sheets paper or cardstock size A4 or letter density 200g-300g / 90lb-120lbs scale 100%
If you want to make model more in size, print the pattern on a3 size paper and scale up to 145%.
Dimensions of this figure in the assembled form
Size for A4 or letter
Height: 532 mm (20,9449 inch)
Width: 417 mm (16,4173 inch)
Depth: 409 mm (16,1024 inch)
Color scheme
sheet 1 eyes and tongue
sheet 2-5 big horns
sheet 6-15 head
sheet 16-22 neck
sheet 23 back wall
You can use your favorite color try to experiment!
Step 1
Start assembling from the lower jaw. Take part 1 from the sheet 6 and glue it with part 2. Next, glue the mouth parts (3-4), and glue detail 5 on the bottom of the jaws.
Step 2
Glue the lower spikes (6-7) and detail 8 between them. Next, glue the tongue (9a,b,c) from sheet 1 and glue it to the lower jaw. Then glue detail 10-11 and set aside.
Step 3
Start assembling the upper jaw with the tip of the muzzle (parts 12-13) Glue the nose part 14. This is the most difficult moment, be as accurate as you can
Step 4
Glue the parts in order until you reach part 18
Step 5
Glue the 2 jaws to each other. Next, glue the eyes (19-20) and detail 21-22-23
Step 6
Glue second spikes (24-25) Glue the remaining spikes on one side 26-28. And on the other side 29-31. Glue detail 32 on forehead and set aside
Step 7
Collect the big horns from pages 2-5.
The first horn-33a,b,c,d,e
The second horn-34a,b,c,d,e
Step 8
Connect the horns and head together
Step 9
Glue detail 35 and detail 36-37 on the sides
Step 10
Glue the сentral spike 38. And detail 39
Step 11
Glue the last details of the neck 39-40-41
Step 12
Cut out the back wall (42) of a denser cardstock and paste from inside of the model. the flaps should be on the outside
Step 13
Take a picture of the finished work and share in social networks. Please mark me on the photo
@papercraftfreak and use a hashtag
#papercraftfreak
Assembly tips
Read the instructions carefully before assembly.
Every detail has its own number with large symbols. Follow these numbers for your convenience.
Details with the letters must be glued together. After, paste the finished parts to the figure
Find the part with the signed letter a and glue detail in order a-b-c and so on
The nose of the dragon has small polygons. They can be difficult to build if you are a beginner
For more convenient gluing of the back wall, I recommend to insert it from the inside of the model. Keep the flaps outside.
You can make all the peaks of a different color except the lowest ones
To do this, print sheets 12-13-15 in a different color or use the color of the horns
Some flaps are enlarged for easy assembly
If you want to make model more in size, print the pattern on a3 size paper and scale up to 145%. Enjoy it !
All rights reserved. Personal use only! Copying, sharing, transferring, publishing and selling are strictly prohibited without my authorization.
exchange is strictly prohibited
para mis amigos mexicanos!
Todos los derechos reservados. Sólo para uso personal! Copiar, compartir, transferir, publicar y vender están estrictamente prohibidos sin mi autorización.
el intercambio está estrictamente prohibido
pepakura papercraft low poly


