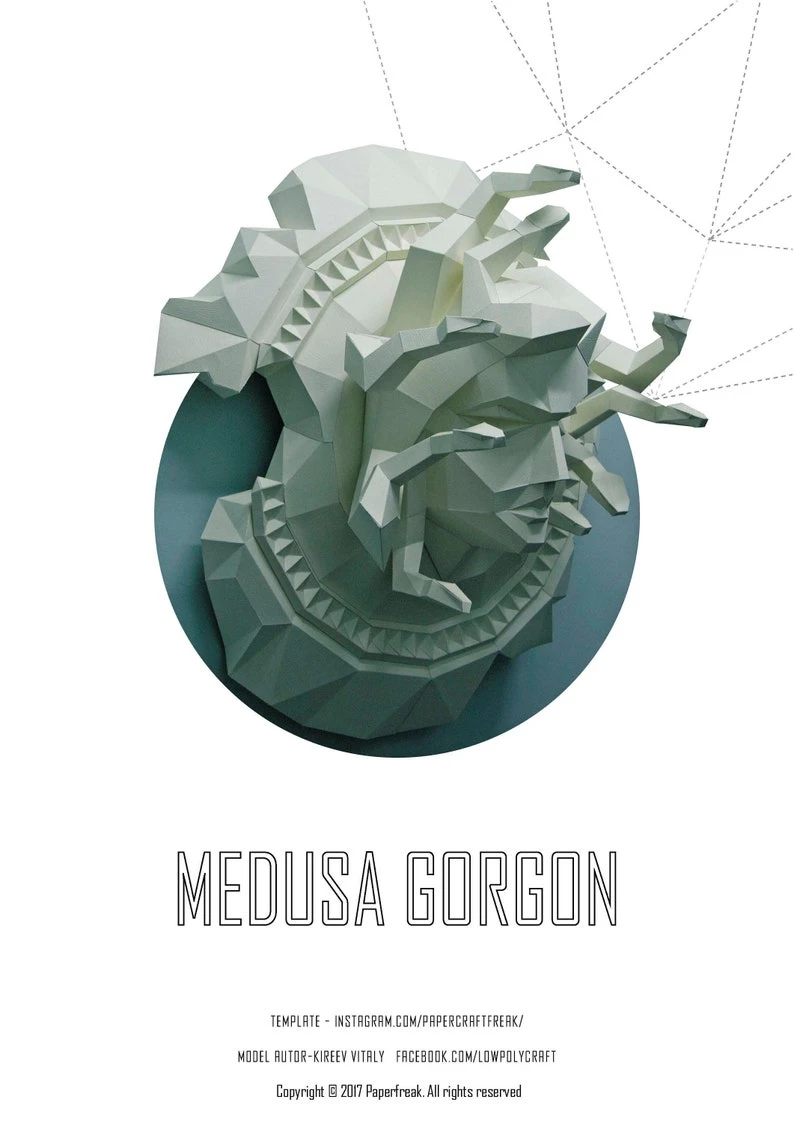
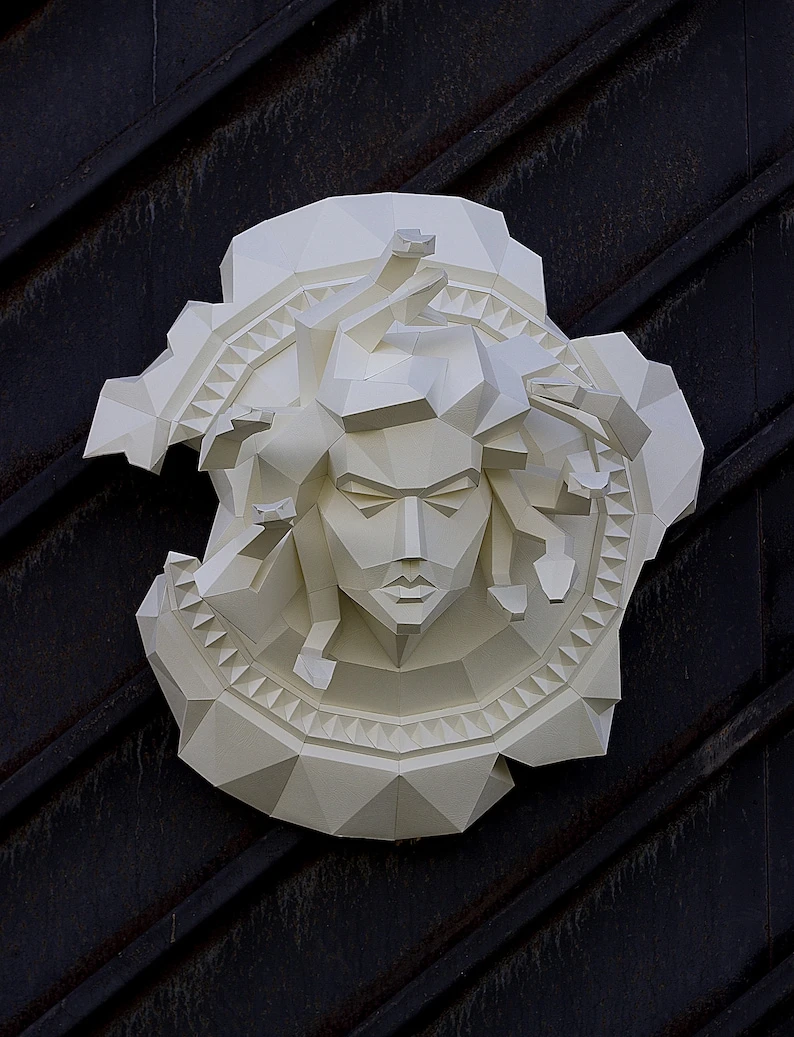
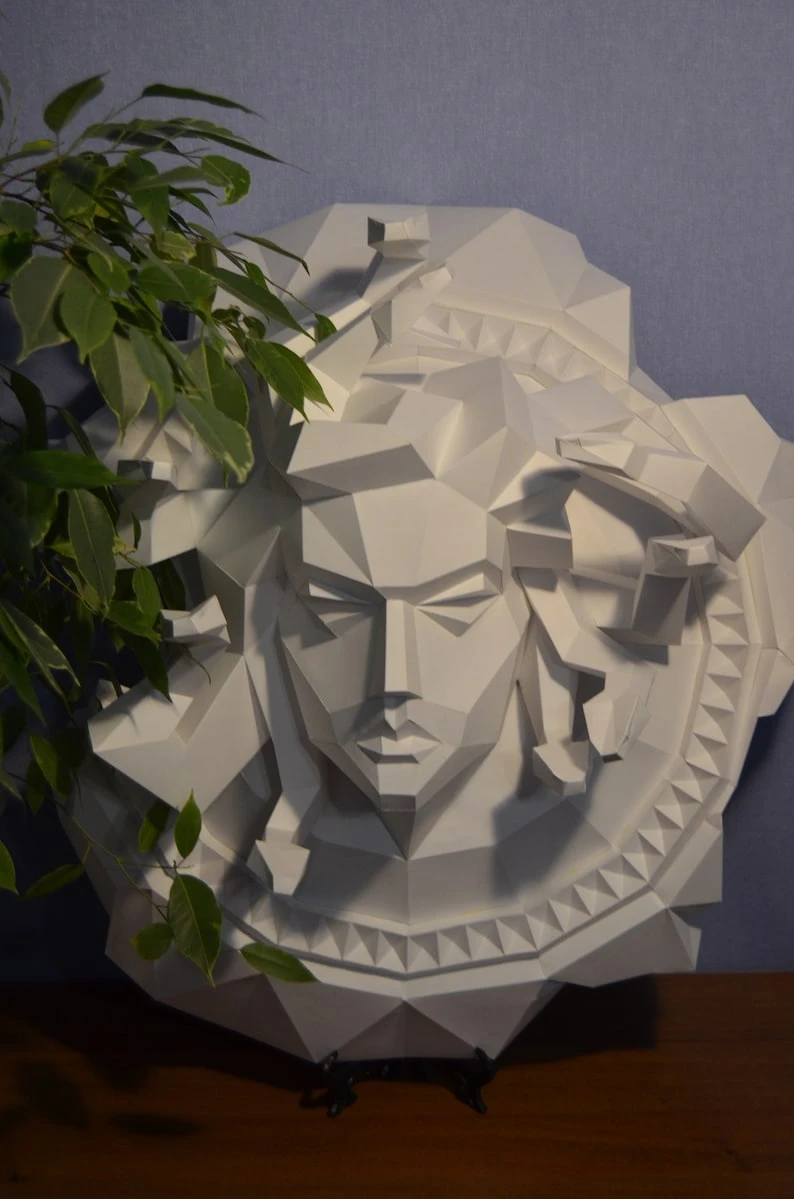
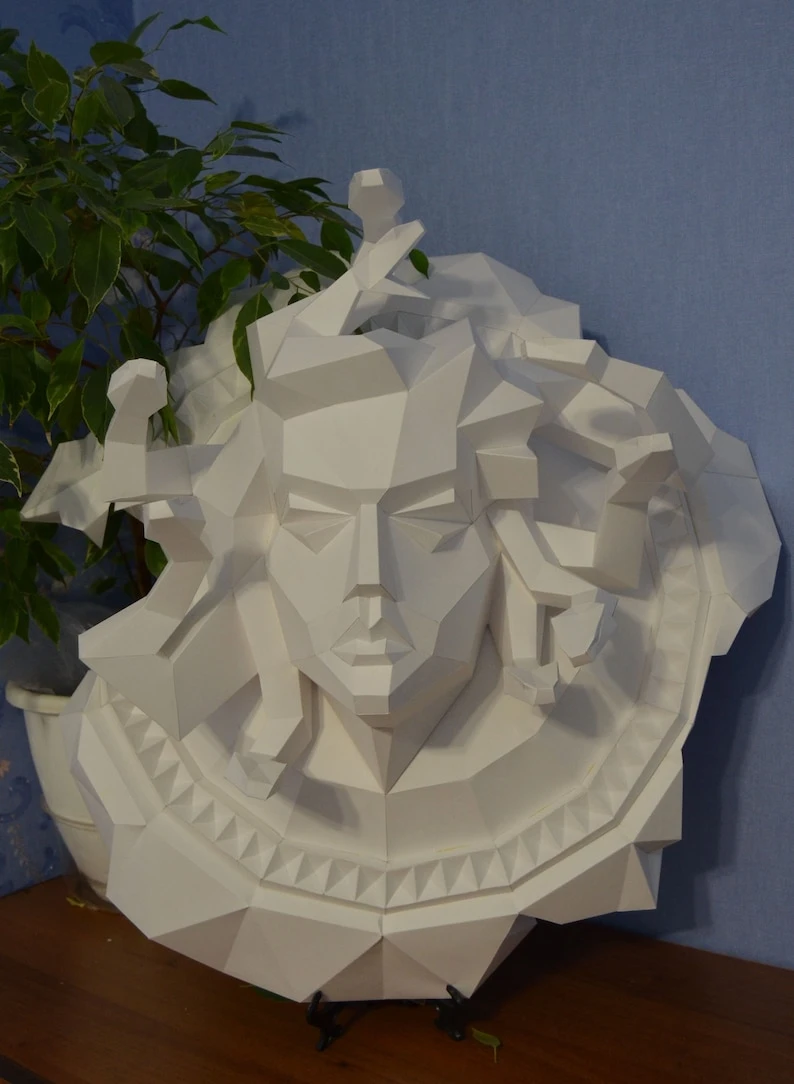
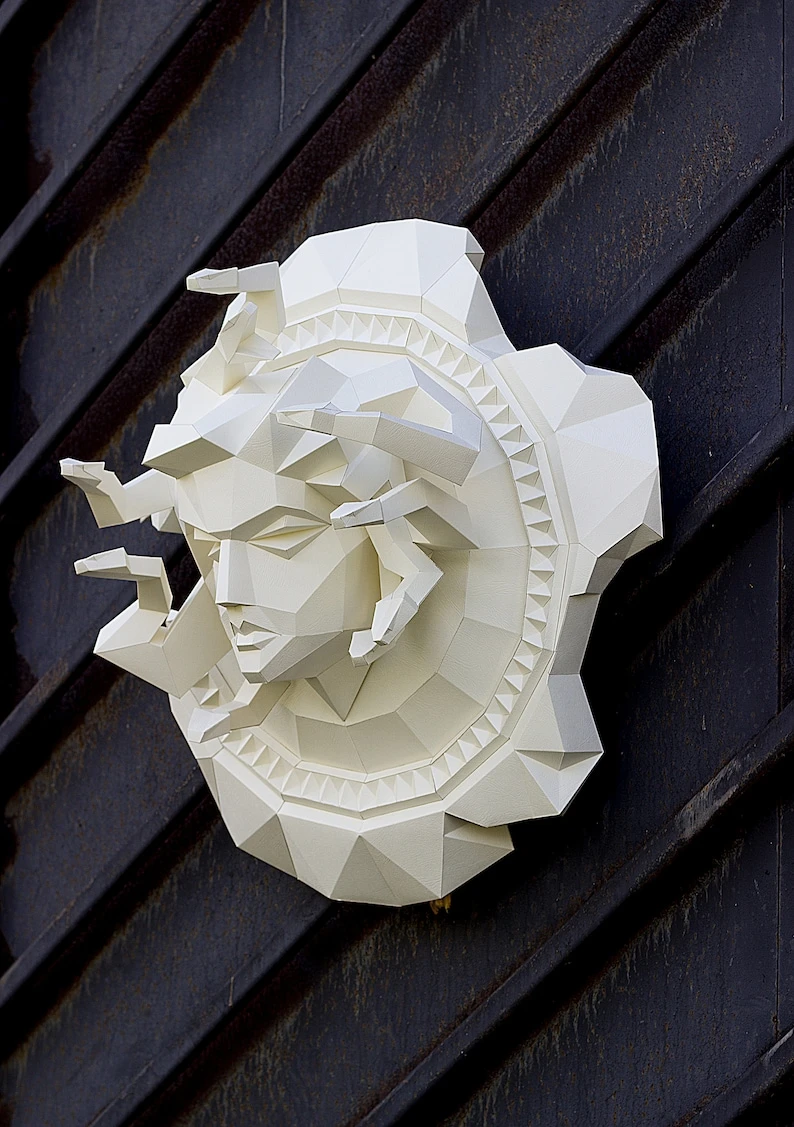
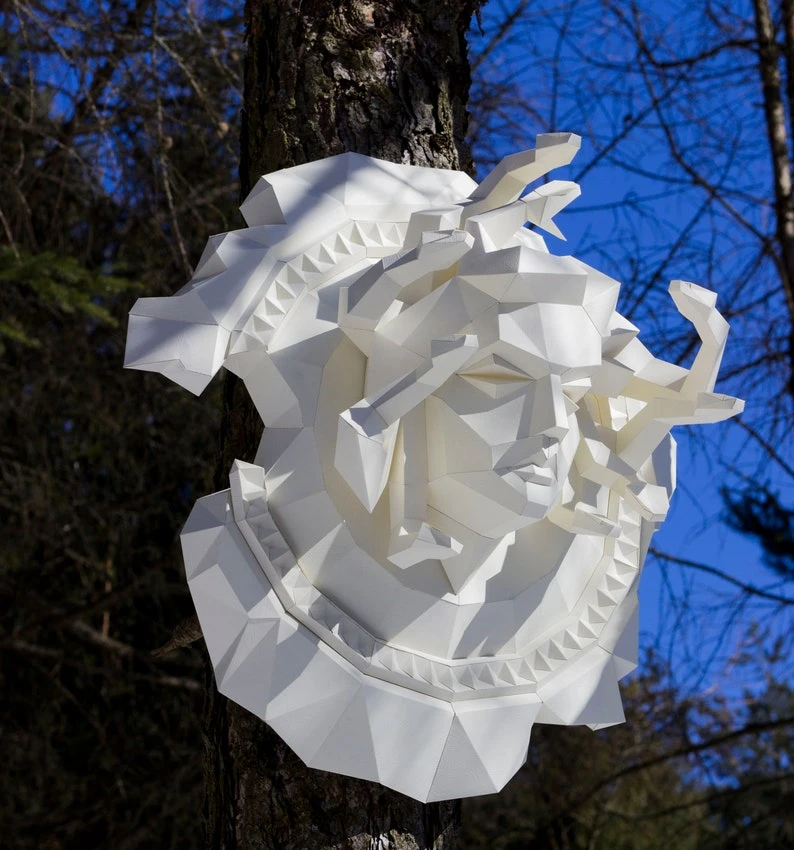
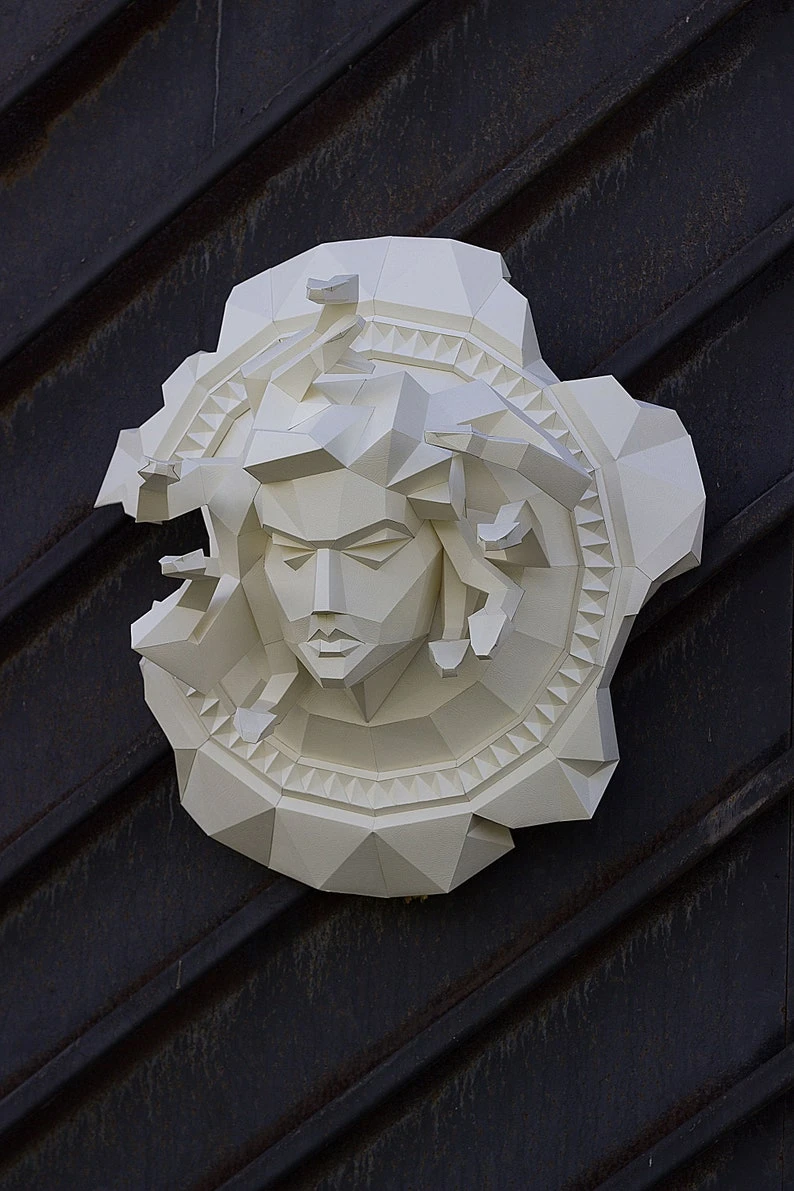
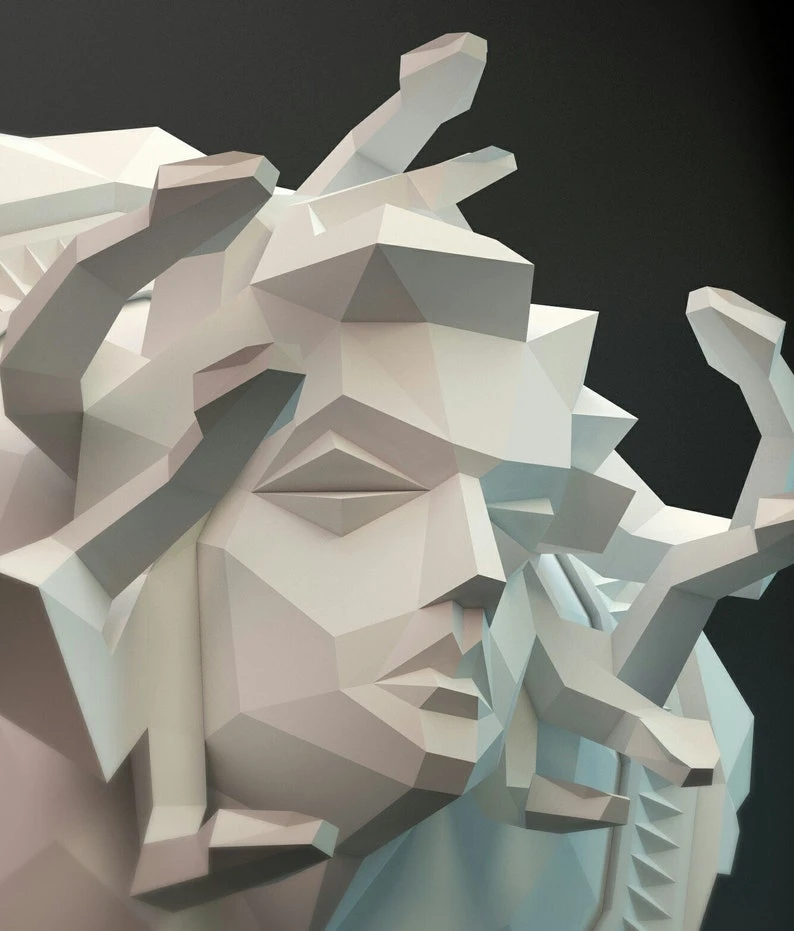
Papercraft 3D MEDUSA GORGONA on the shield pepakura pdf template Low polygonal Paper Sculpture Diy gift Decor home office animal trophy art
| Digital download | |
| Digital file type(s): 1 PDF | |
| Support for file crafts: PDF Vector | |
| Height: 595 milimeters | |
| Width: 582 milimeters | |
| Depth: 285 milimeters |
!!!!! This is a very hard to build. only for professionals !!!!!
Do not buy this product if you have little experience
3d papercraft medusa gorgon on the shield pepakura template, pattern for self assembly
polygonal antic sculpture medusa gorgon for wedding decoration home and office
this is PDF patern ! not ready made model !
Template include detailed instruction for easy assembly
For assembling. Print this pattern on 42 sheets A4 cardstock 200-300gsm scale 100%
Size
Hight-595mm (23,4252 in)
Depth-285mm (11,2205 in)
Width-582mm (22,9134 in)
color scheme
sheet 1-10 hair color
sheet 11-13 face color
sheet 14-31 shield color
sheet 32-34 rim of the shied color
sheet 35-42 cardstock 300-400gsm
you can use your favorite color try to experiment!
The model was developed by the popular designer Kireev Vitaly.
Print the required sheets.
Pages 1-13 is the head of the gorgon. It can be assembled separately without a shield and hung on the wall.
On pages 35-42 there is a fastener to the wall. print it from a cardstock of maximum density (300-350lbs). If the final result is not strong enough, reprint sheets 35-42 and glue parts from the inside.
The hair is on pages 1-10
The face on pages 11-13.
For your convenience, assemblyng of the head is divided into several steps.
Sheet 1-3 the first step.
Sheet 4-5 the second step.
Sheet 6-8 the third step.
Start assembling the shield from parts 1 and 2, connect them together. Take a cardstock of high
density, circle the resulting detail, cut out and set aside.
After gluing the parts 2a, 2b, 2c and 2b, take a circle of more dense cardstock and glue it from the back side. The resulting figure will be stronger and it helps you to attach the head of the gorgon to the shield.
You can print the details 2a, 2b, 2c and 2b again, and glue them to the back of the model at the very end of the assembly. This will give additional strength, but it is not necessarily.
Head
Step 1
Cut out the details from pages 1-3. Assembly the snakes and set it aside. Assembling the eyes can cause inconvenience.
Step 2
Cut out the details from pages 4-5. Glue them together and set aside
Step 3
Cut out the details from pages 6-9. collect the heads of snakes. Get to the detail with number 13 and set aside
Step 4
Using the part number 14 and 15, connect the snakes from steps 3 and 2. after that, glue the parts 16 and 17 and paste one snake from step 1 (detail 5)
Step 5
Cut out fragments of the gorgon's face from pages 11-13. Glue part 18 to the hair and continue to glue the parts according to the large numbers until you reach the details 22a and 22b
Step 6
Glue 3 connected snakes from step 1. Glue the gorgon's mouth (details 24-25) and glue it to the resulting structure. Continue to stick parts according to large numbers. At the end, cut out the back wall from the more dense cardstock and paste it from inside the model
Shield
Step 1
Cut out the details from sheets 14-31, Glue parts 1 and 2
Step 2
Glue the parts 2a, 2b, 2c and 2b, to the center of the shield. After that, glue a second layer of thicker cardstock to the center of the shield from the back side.
Step 3
Glue parts 3a, 3b and 3c together. Continue to glue the details to this figure until you get to the details of 5
Step 4
Glue the two pieces of shield together.
Step 5
Continue gluing the parts one by one according to large numbers, until you finish assembling the shield.
Step 6
If the shield is not strong enough, print pages 16, 17 and 18. Cut out the details 2a, 2b, 2c and 2b and glue them to the inside of the model
Rim of the shield and wall fastening
Step 1
Cut out all the details of pages 32-34. Take the part 1a and glue it. Next, glue to it the parts 1b, 1c, 1d, and 1e.
Step 2
Take the part 2a and glue it. Next, glue to it the parts 2b, 2c, 2d, and 2e. Connect parts 1 and 2 together. Continue to collect the remaining pieces the same way, until you finish
Step 3
Cut out the details from pages 35-42 from cardstock of maximum density. Start assembling the wall fastener according to the large numbers.
If this part is not strong enough, print sheets 45-42 again and paste the parts inside
Step 4
Glue the rear fastener behind the shield
Step 5
Glue the rim of the shield, carefully placing it according to the picture below
Step 6
Hang head on the shield with a clerical button, or glue. Take a picture of the finished work and share in social networks. Please mark me on the photo @papercraftfreak and use a hashtag #papercraftfreak
Assembly tips for head
Some flaps are reduced for easy assembly Every detail has its own number with large symbols. Follow these numbers for your convenience.
This model is very hard to build. Only for professionals. Read the instructions carefully before assembly.
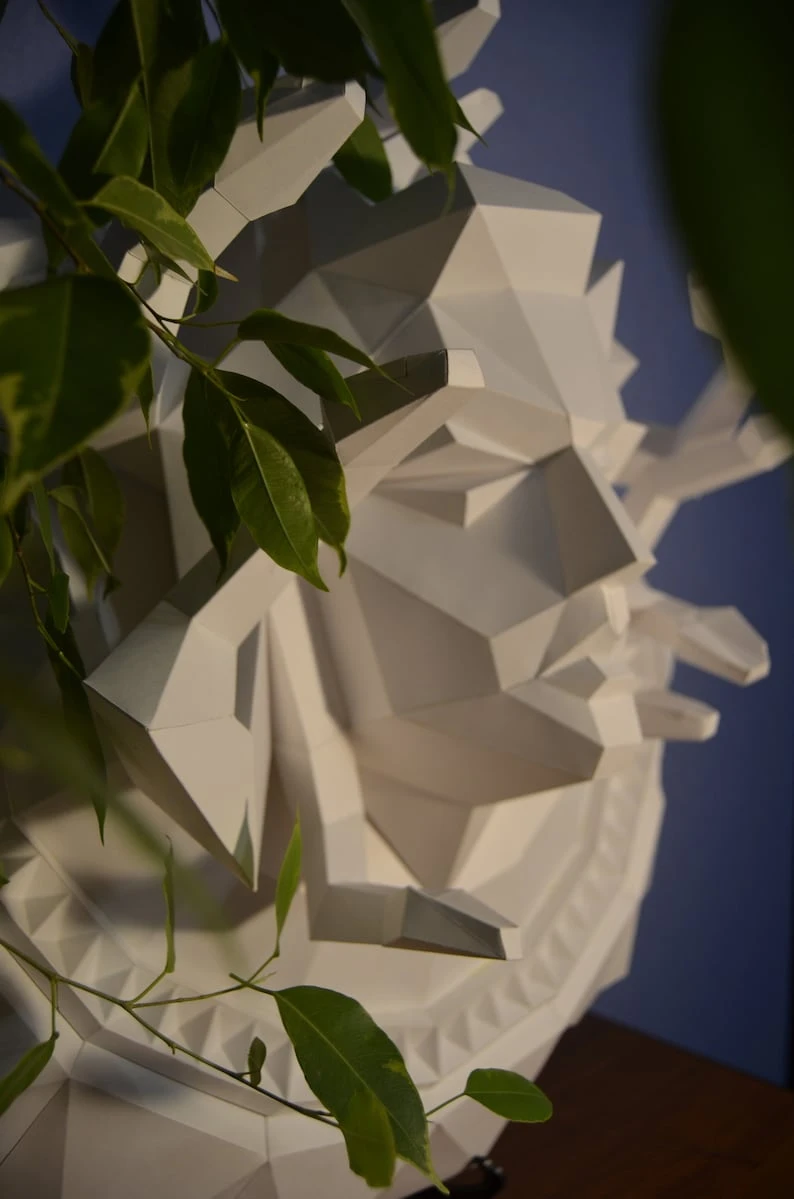
The hardest parts are the snake heads. Assemble them carefully.
The eyes of snakes will make you suffer
Enjoy it !
If you want to make model more in size, print all pattern on a3 size paper and scale up to 140%.
Assembly tips for shield
Every detail has its own number with large symbols. Follow these numbers for your convenience.
Read the instructions carefully before assembly. Enjoy it !
If you want to make model more in size, print all pattern on a3 size paper and scale up to 140%.


