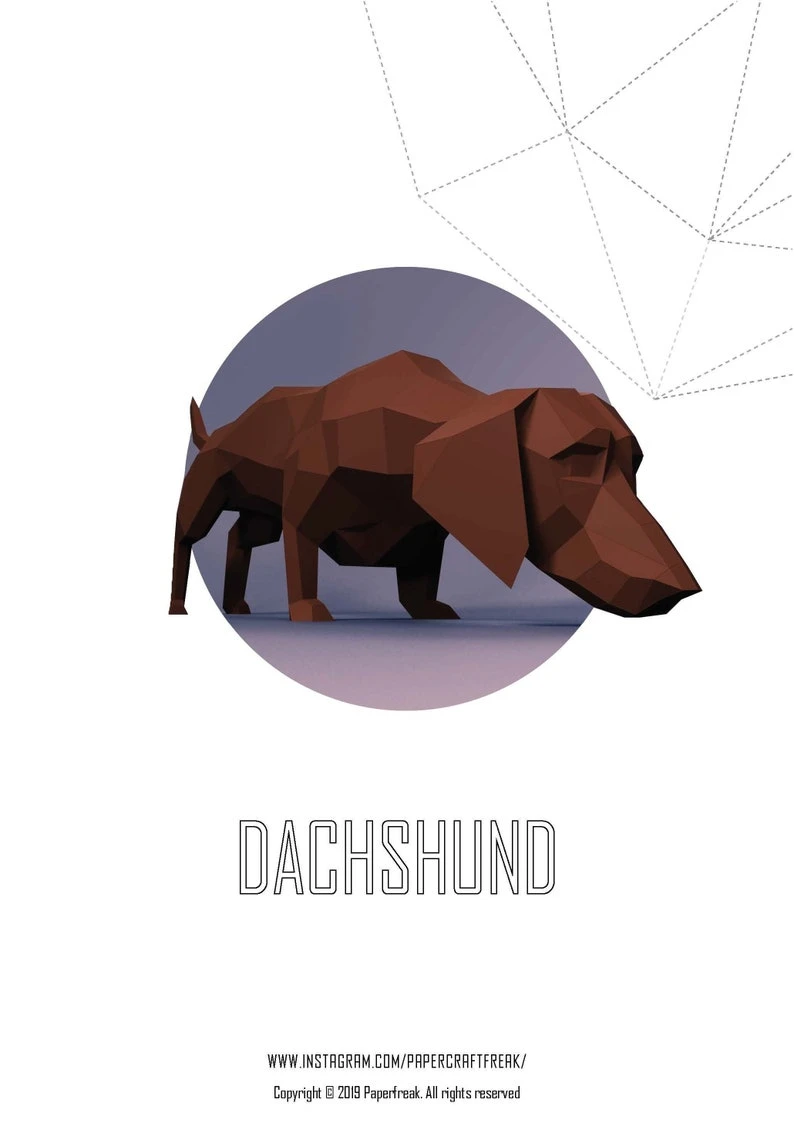
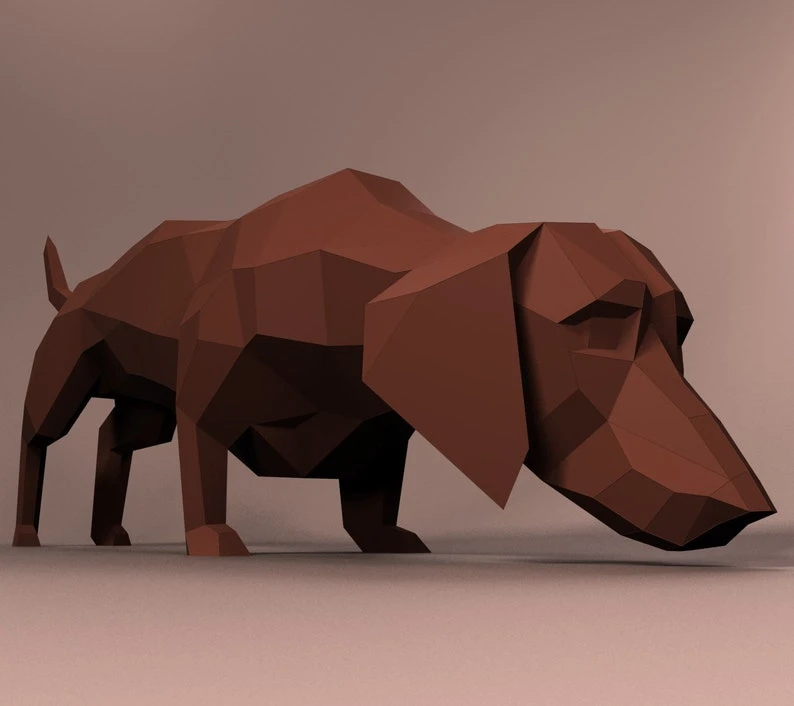
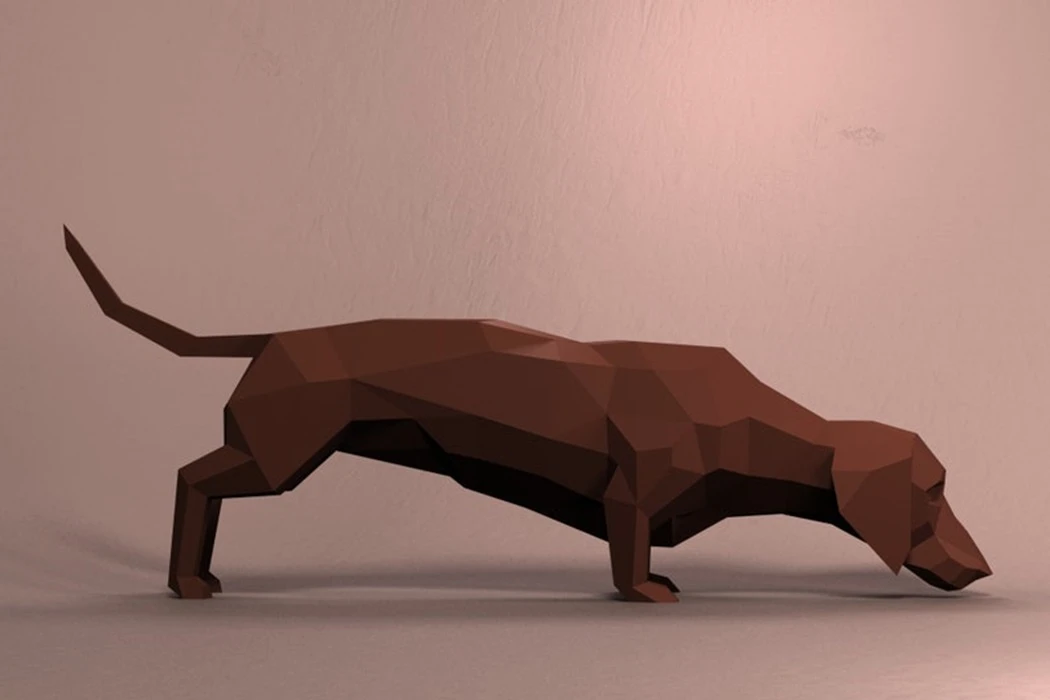
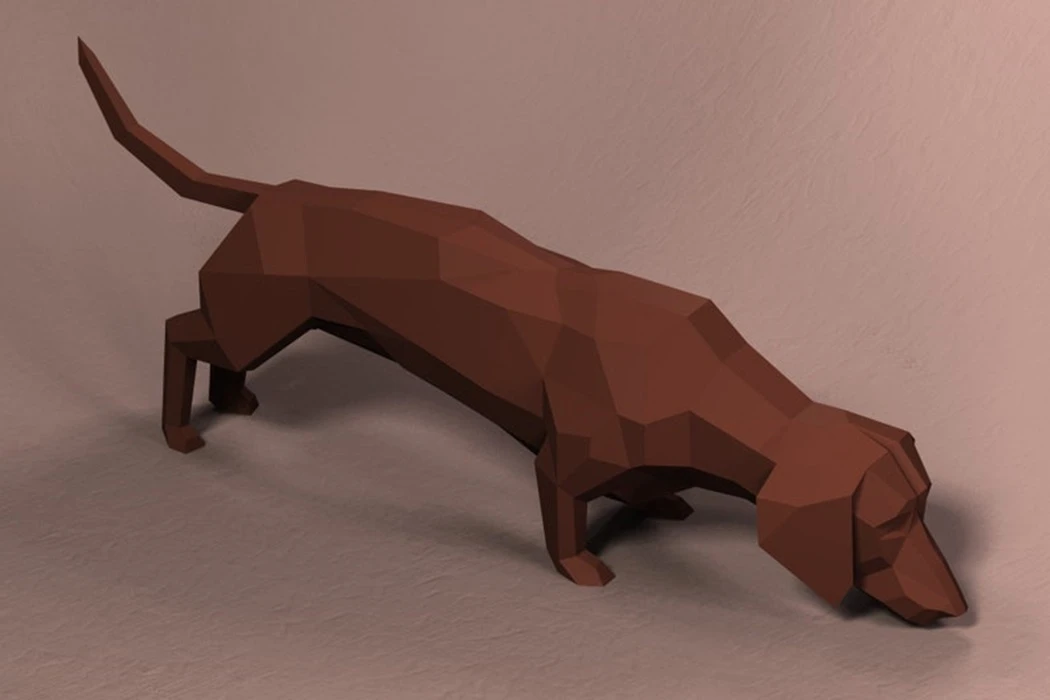
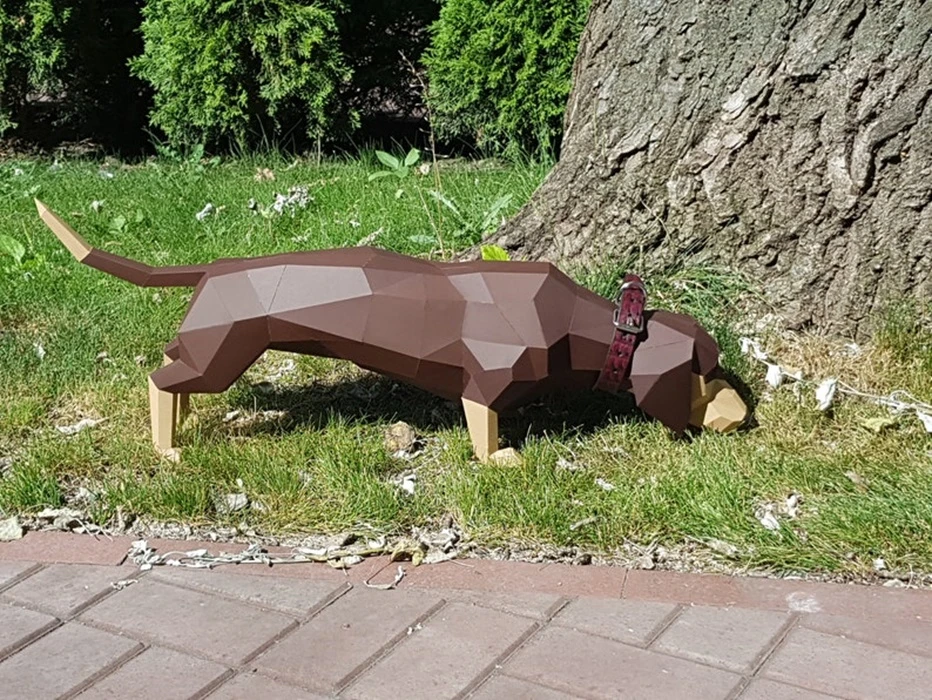
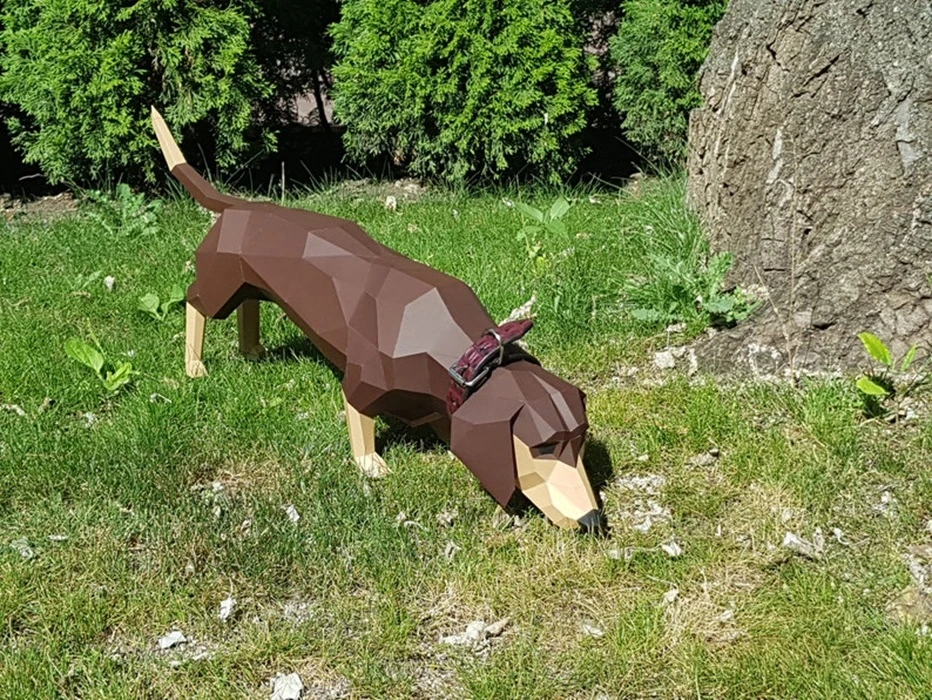
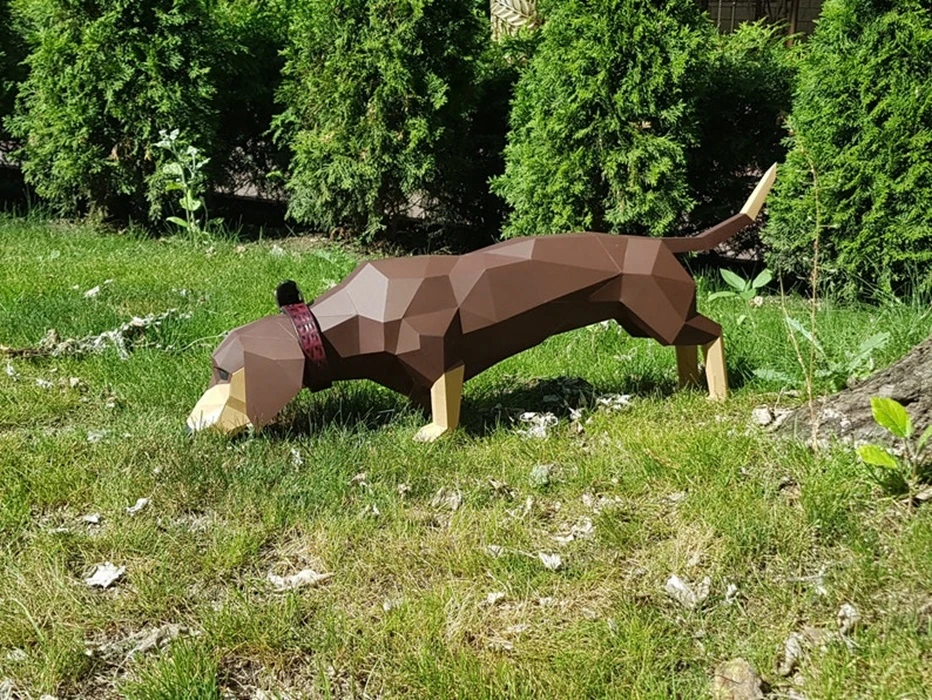
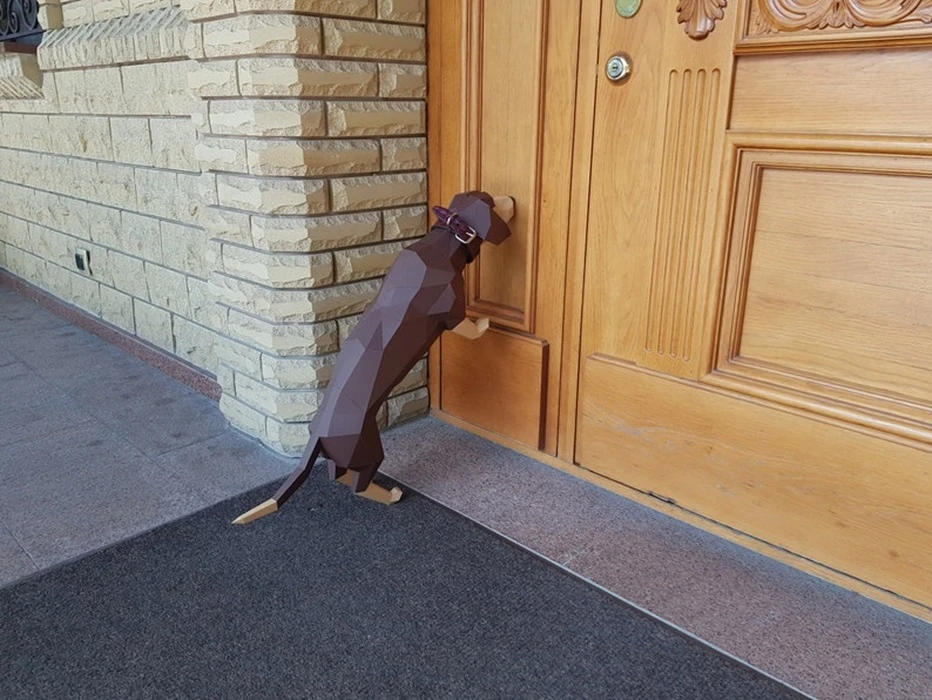
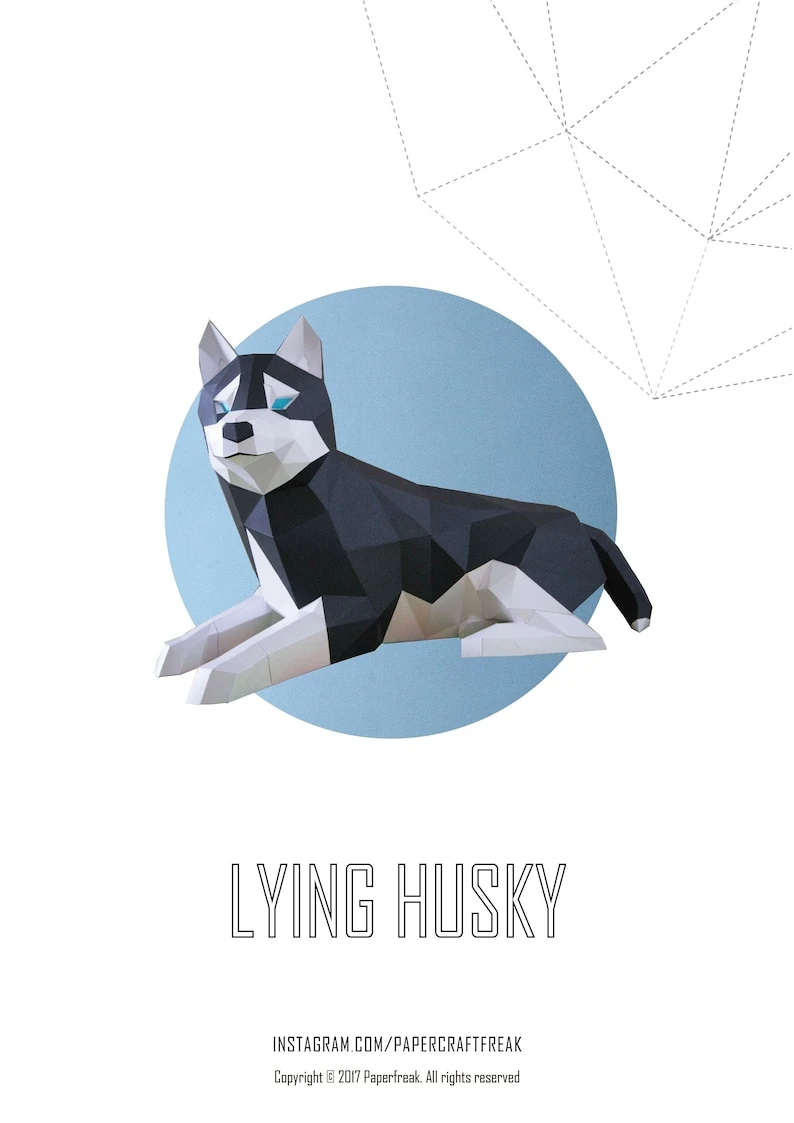
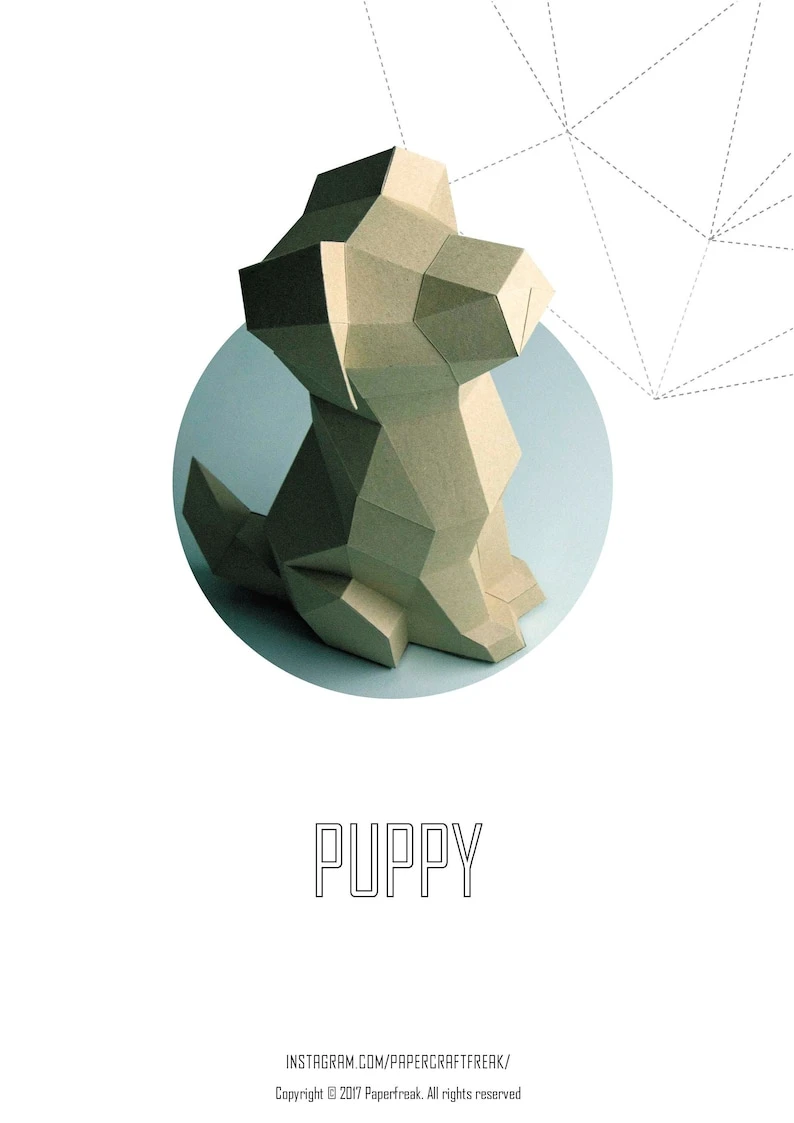
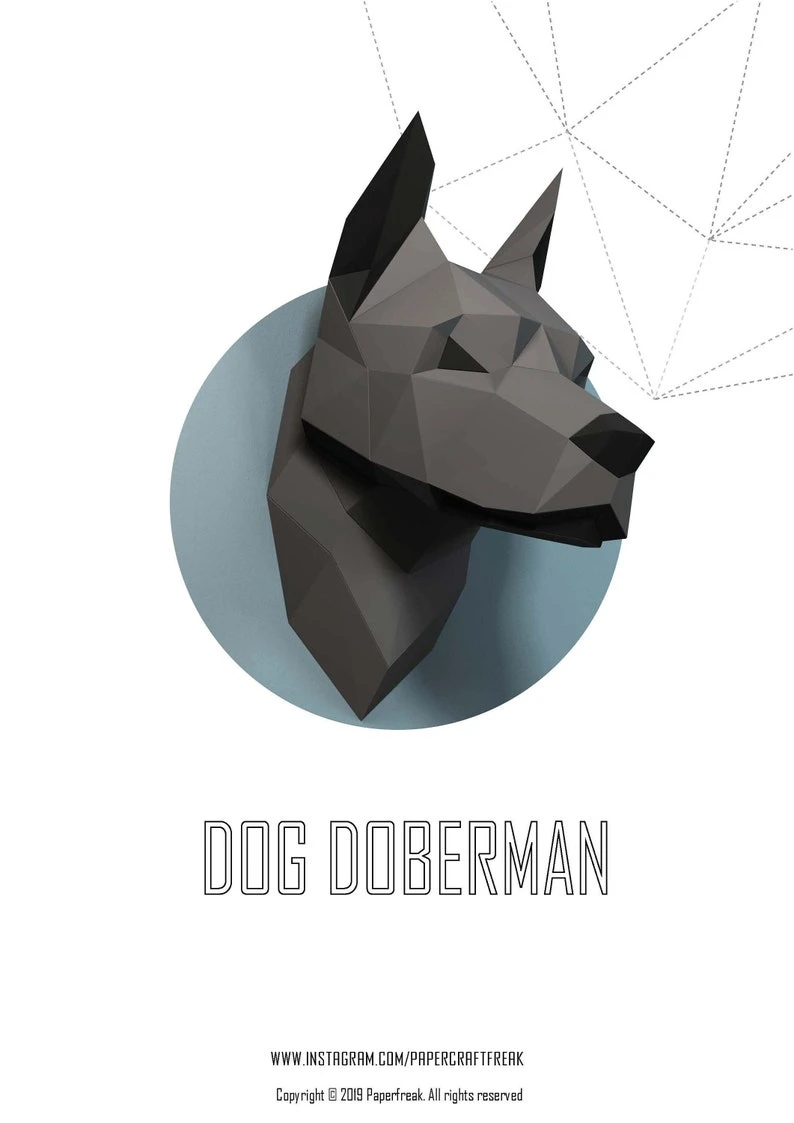
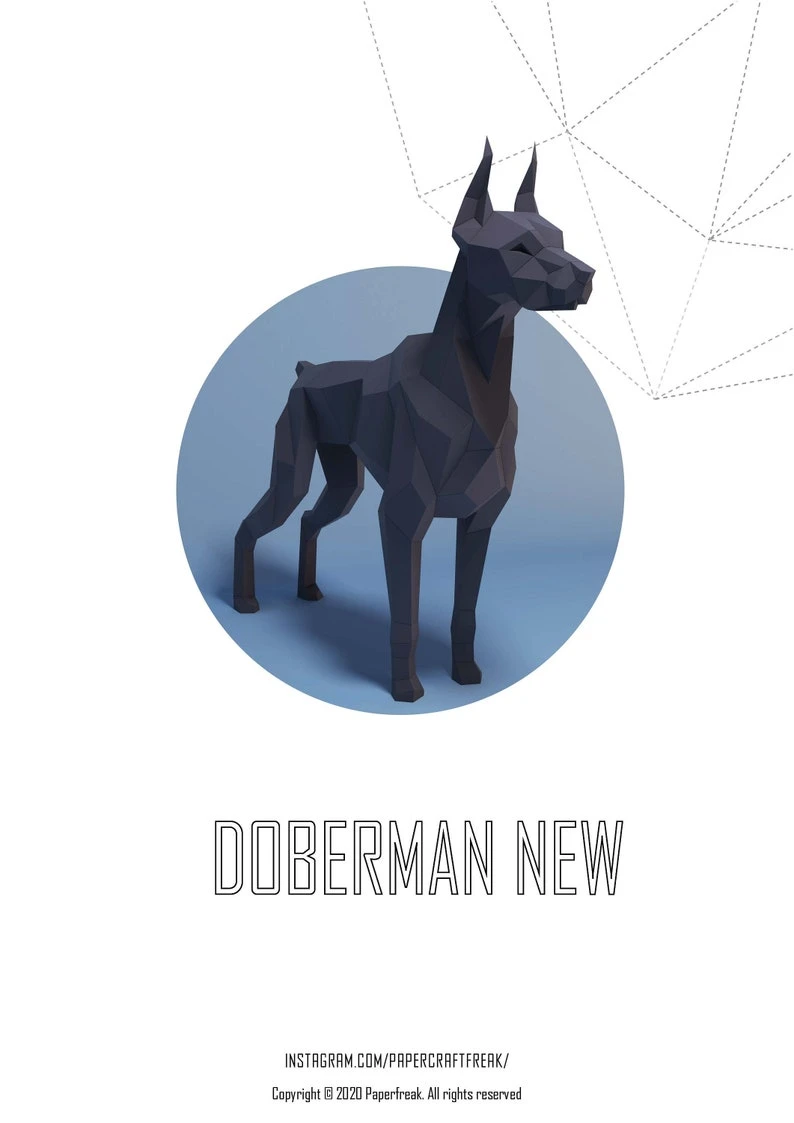
Papercraft 3d DACHSHUND DOG PUPPY Low Poly Paper Sculpture DiY gift Decor Pug home office pepakura pattern template handmade animals dog
| Digital download | |
| Digital file type(s): 1 PDF | |
| Support for file crafts: PDF Vector | |
| Height: 290 milimeters | |
| Width: 720 milimeters | |
| Depth: 153 milimeters |
Make your own DACHSHUND sausage dog! This is template for making papercraft 3D paper sculpture with your own hand!
3d papercraft standing DACHSHUND. pepakura template, pattern for self-assembly polygonal dog for decoration home, loft and office
Papercraft animal art low poly paper figure.
this is PDF pattern ! not ready made model !
Template included detailed instruction for beginers
For assembling. Print this pattern on 12 sheets paper or cardstock size A4 or letter density 200g-300g / 90lb-120lbs scale 100%
If you want to make model more in size, print the pattern on a3 size paper and scale up to 143%.
Dimensions of this figure in the assembled form
Size for A4 or letter
Height: 290 mm (26,8 inch)
Width: 720 mm (29,0551inch)
Depth: 153 mm (7,24409 inch)
Color scheme
Sheet 1-12 main color
You can use your favorite color try to experiment!
Step 1
Start assembling dog with the nose (detail 1a,b,). glue the parts in order until you reach the part 8.
Step 2
Glue the eyes (details 9b,9�) to the part 9a. Next, glue the part 10-12.
Step 3
Now glue ears (details 13-14) Glue details in order until you reach the part 17
Step 4
Continue to glue the parts in order until you reach the part 22
Step 5
Glue the parts 23a and 23b and glue the resulting detail to the model. Do the same with 24a and 24b Collect the front legs separately (right leg 25a,b . left leg 26a,b) and glue them to the figure.
Now glue the part 27
Step 6
Glue the parts in order until you reach the part 37. Put the model aside.
Step 7
Collect the dog's tail starting from part 38a to part 38e
Step 8
Glue back leg with the parts 39a, and finish at detail 39d. Do the same with the second leg (40a-40d) Glue the rear legs to the tail
Step 9
Glue between the dog's legs details 41-42
Step 10
Glue 2 halves of the dog together. Glue the part 43 marked last detail
Step 11
Make a photo of the finished work and share in social networks. Please tag me on the photo @papercraftfreak
And use a hashtag #papercraftfreak
Assembly tips
Details marked with letters ( 1a+1b ) must be glued together before you glue them to the model.
If you want to make your dog's snout several colors, then print the first sheet again in a different color and select the desired details
Every detail has its own number with large symbols. Follow these numbers for your convenience.
You can make the nose and eyes a different color. Simply paint the necessary parts or cut them out of the paper of the desired color.
Enjoy it !
If you want to make model more in size, print the pattern on a3 size paper and scale up to 143%
Just enjoy it !
If you want to make model more in size, print the pattern on a3 size paper and scale up to 145%.
All rights reserved. Personal use only! Copying, sharing, transferring, publishing and selling are strictly prohibited without my authorization.
exchange is strictly prohibited
para mis amigos mexicanos!
Todos los derechos reservados. Solo para uso personal! Copiar, compartir, transferir, publicar y vender estan estrictamente prohibidos sin mi autorizacion.
el intercambio esta estrictamente prohibido
pepakura papercraft low poly


