")
")
")
")
")
")
")
")
")
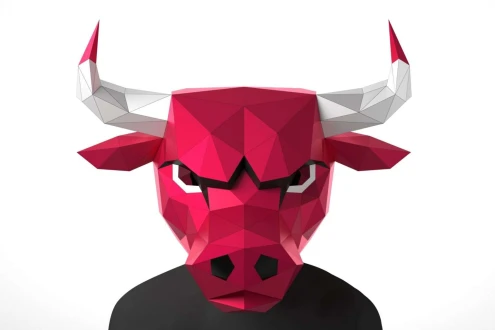
Walrus Mask: 3D PaperCraft Template, DIY Animal Costume (PDF)
| Digital download | |
| Digital file type(s): 1 ZIP | |
| Support for file crafts: PDF Vector |
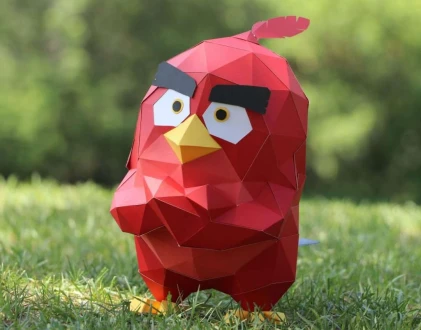
Low poly 3D mask Walrus, easy to assemble.
10 pages:
1-8 heads (primary color)
9 vibrissa
10 tusks
+ Step-By-Step Instruction + Visual Instruction
All masks are standard size and fit for adults. But if you zoom out by 10% or 20% when you print, the mask will be smaller and better suited for children.
There is a lot of free space inside the mask, so a cardboard ring is used to attach to the head, a ring template is included. You can easily fit the head ring to your size and then simply glue it inside the finished mask. The ring must be glued in such a way that you can clearly see through the eyes of the mask.
To assemble papercraft, you need to have scissors, a knife for cutting paper and cardboard, a ruler and a dotting pen, a printer. You will also need a glue that you like to use more.
1. I recommend using hot glue at low temperature.
2. For cardboard, I recommend using at least 240 g/m2, most often I use 300 g/m2. Why do I suggest not to use less than 240, because the mask does not work well, does not hold its shape and is crumpled in the hands.
3. If this is your first job, then it is better to stock up on more time and patience. Approximately 2-4 hours for a beginner. But it can be faster if you have good tools and gluing is fast.
You will work with a paper project in 5 steps. 1- Print, 2- Run the lines of future bends to bend beautifully, 3- Cut, 4- Lay out the parts numbered from 1 and further in ascending order (All parts are numbered from the beginning of the assembly, the letters A and B indicate the symmetry of the part), 4 - gluing stage.
All electronic templates are prepared following the correct assembly algorithm. We number the parts in the order of assembly and also place the flags for gluing in the right direction. Thus, the surface on which you will apply the adhesive is always available to you, even in complex projects. This makes it easy to glue using Hot Melt Adhesive or other adhesives.
All our projects are quality tested. The polygons are perfectly flat, so you can be sure that everything will work out perfectly for even hard materials. You can also use any materials such as plastic mirror and eva foam.
Your files will be available to download once payment is confirmed.
Instant download items don’t accept returns, exchanges or cancellations. Please contact the seller about any problems with your order.